
Yesterday I faced the problem of creating a widget from Shop information to install A rating portal for online shops, which we use via the Dealer association to be able to use.
Unfortunately, there is no plugin for this via the Shopware Store. So the codes had to be placed manually.
To do this, I first configured the shop information widget in the backend of the site.
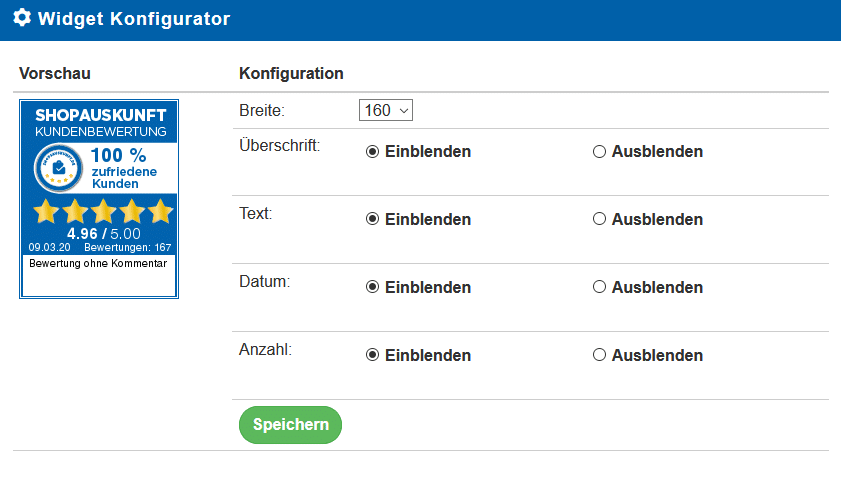
After that, the code is available a little deeper.
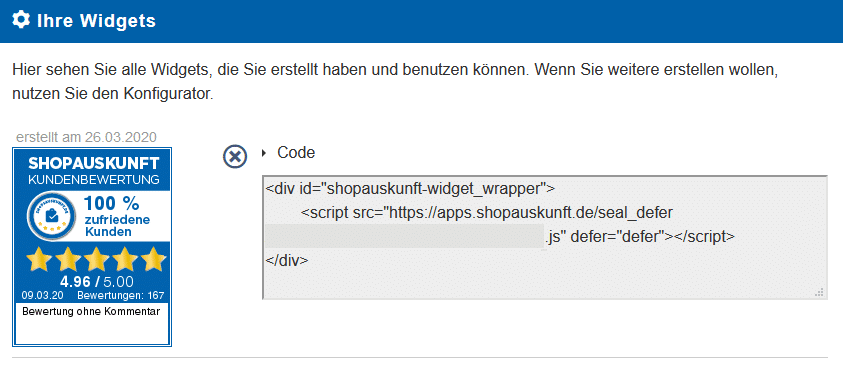
In the next step I inserted this code in the footer. Start your ftp program (e.g. Filezilla) and look for:
/Themes/Frontend/YourThemeName/frontend/index
At this point, I assume that you are already using your own theme, otherwise your changes would not be update-safe. Otherwise, Shopware provides this documentation:

I always create a backup copy of the current file before making changes and add the current date to the name.
Insert the above code with a text editor (eg Notepad++).

Now the widget is displayed in the lower part of your Shopware online shop. Of course it doesn't look that great. Therefore, shop information provides a small code snippet that firmly places this widget at the bottom right:
@media only screen and (min-width: 768px) { div#shopauskunft_widget { display: block; position: fixed; right: 10px; bottom: 10px; }}
But what to do with it?
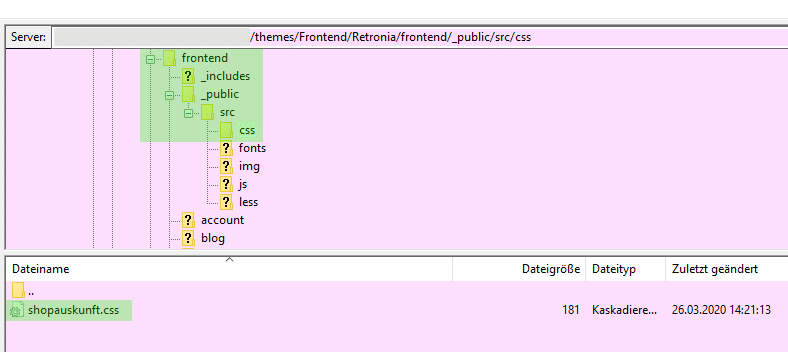
An additional css file can be specified in the Showare backend. First upload a new css file with the above code via ftp.
Now you only have to tell Shopware 5 that this file should be used. To do this, you go to the backend Settings/ Theme Manager...
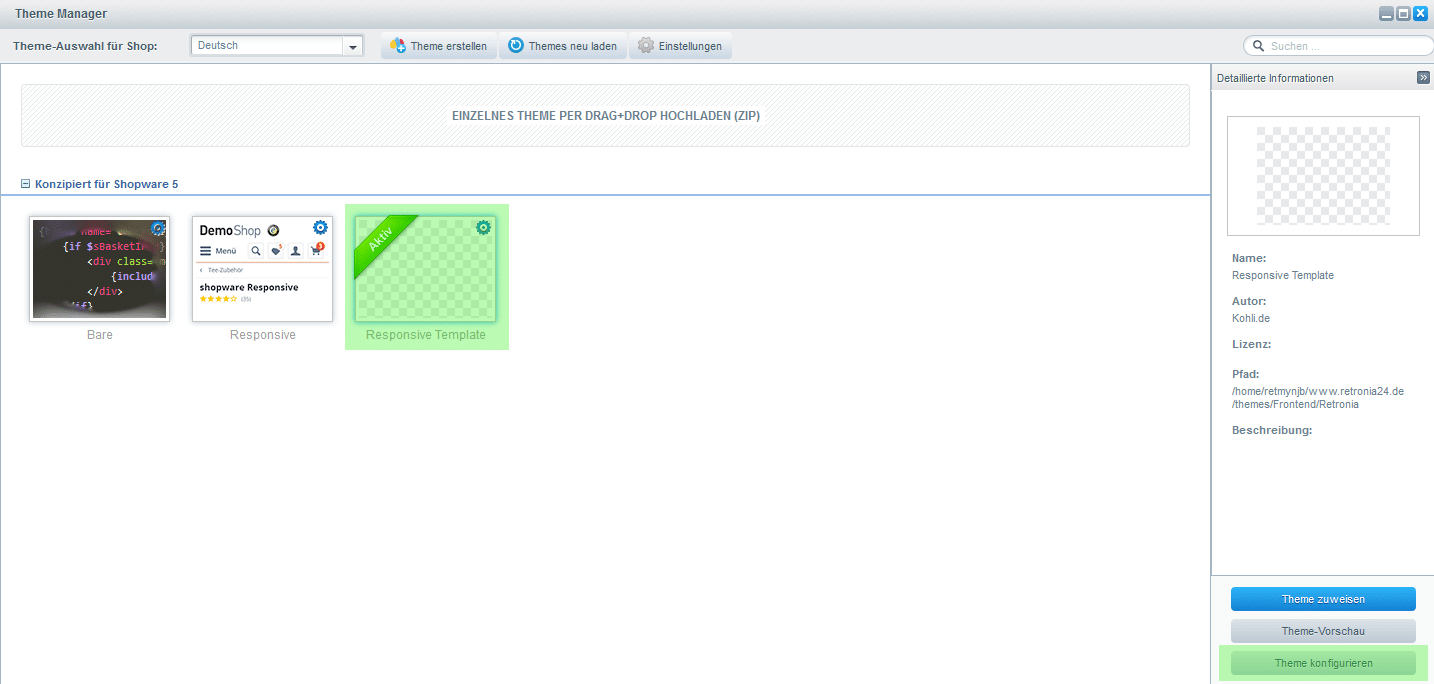
... choose your theme and click Configure Theme.
Under the Configuration tab...
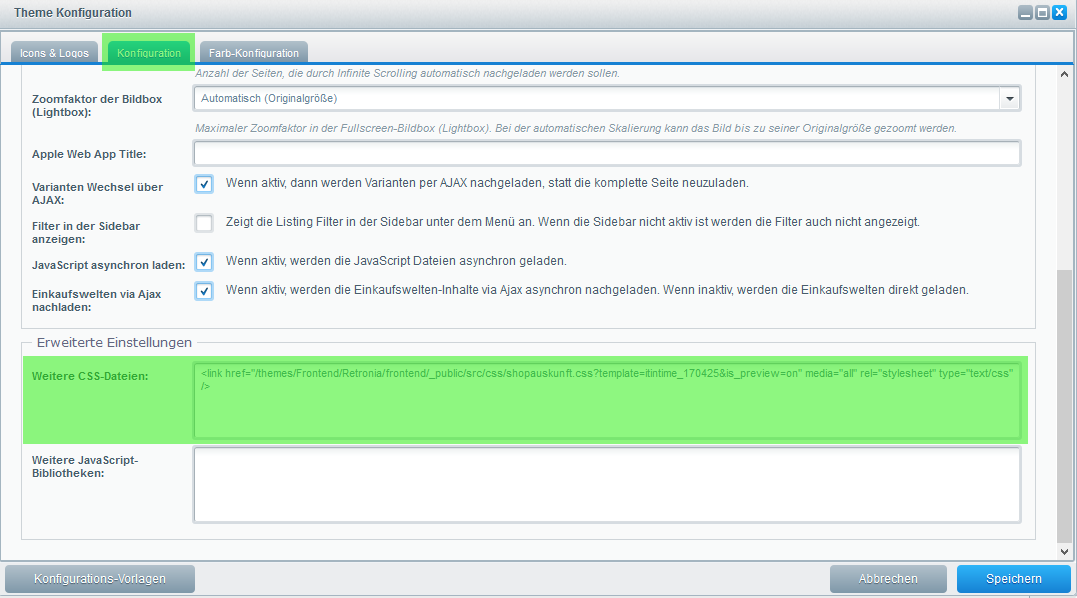
… enter your css file under “Other CSS files”:
<link href="/en/themes/Frontend/YourThemeName/frontend/_public/src/css/shopauskunft.css?template=itintime_170425&is_preview=on" media="all" rel="stylesheet" type="text/css" />
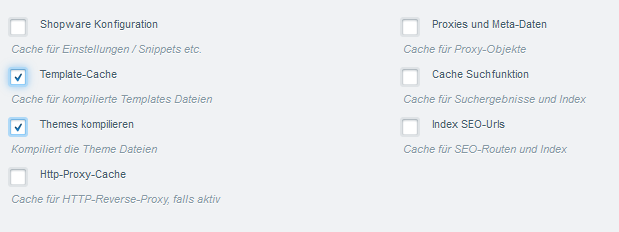
Now empty the shop cache and compile the theme.
Et voila… your widget looks great! 🙂

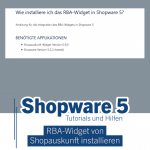
The RBA widget from shop information is still required to send the evaluation emails. I'll show you how to set it up in this post:
Install RBA widget from shop information in Shopware 5

Passionate "phone clipper". Currently with mine Samsung Galaxy S22 Ultra. A great phone with XNUMX TB of storage. Lots of space for experiments. My favorite subjects are plants, Eat & drink, animals, Buildings and Landscapes.
Otherwise, I like to spend my time in nature and sometimes hang out on the PC, with a cozy round Civ or Star Citizen, away. A series is also often sought after on the couch in the evening.
similar posts:
 Shopware 5 – no shipping abroad for certain items
 Shopware 5 shows white page
 Shopware 5 export error
 Install RBA widget from shop information
 VAT change 19% to 16% or 7% to 5% due to Corona
 Plugin VAT Change and Reduction (Tutorial, Install, Setup, Test, Undo)
 Shopware 5 plugin Corona VAT adjustment
 Voucher code in checkout?